Nouveau
A scratch built high speed commuter launch
| Craig88 | 04/02/2023 09:30:09 |
| 15 forum posts 39 photos | Hi all During 2019 I unfortunately found myself at the hospital after a motorcycle accident, during my recovery time I got bored of sitting around watching daytime tv and movies. This time got me thinking back to the ‘good ol days’ when I was younger spending weeks at my Nan and grandads. In particular those warm sunny days in the summer spending time with my gramp in his summer house and garage building model boats. My gramp used to be a toolmaker back in the day so over the years passed on a fair bit of his practical skills and knowledge to me. With this in mind I thought to myself ‘why don’t I have a go at building a boat’.
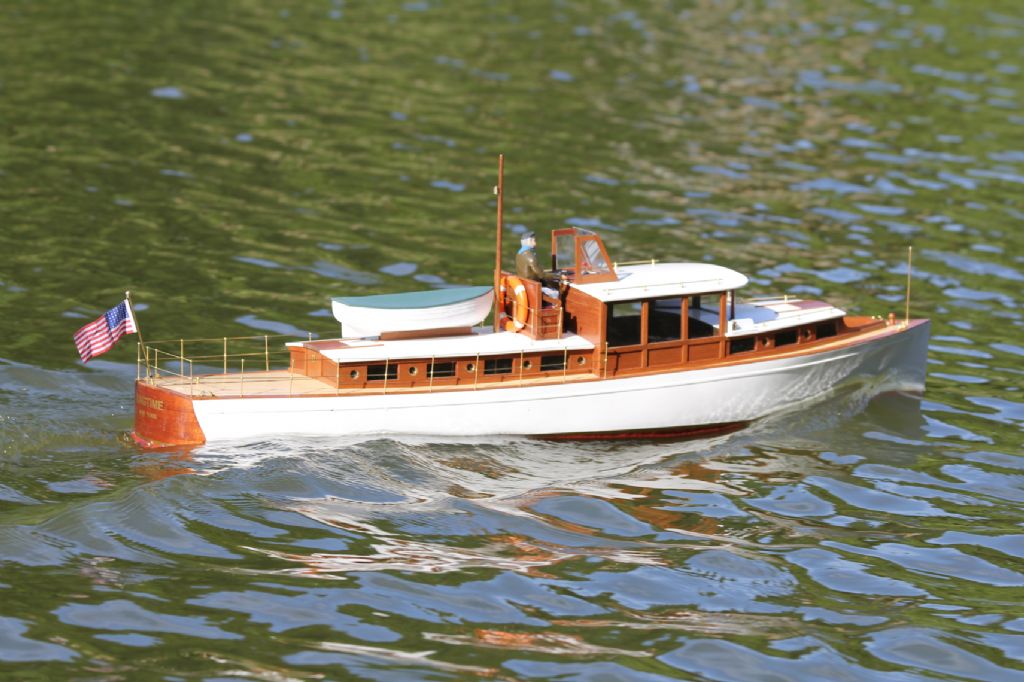
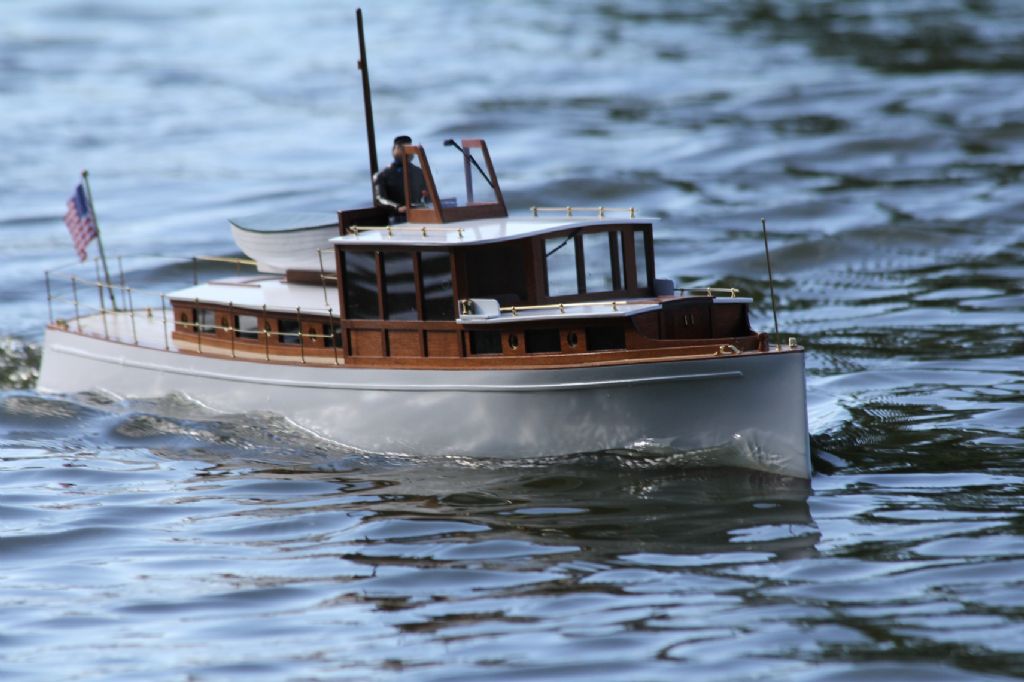
And so the hunt began, the first choice to make was do I go for a kit or do I go down the route of scratch building from a plan. After weeks trawling the internet all I had accomplished by way of a decision was knowing that I wanted something slightly unusual. Then I came across a plan which seemed to stand out, Nouveau. I believe it was originally designed by Peter Massey and featured as a free plan in Marine Modelling back in 2002. The model itself is a high speed commuter launch with sleek flowing lines and a canoe style stern. Its shape alone caught my attention, and after a bit of online digging I couldn’t find a lot of information about this model having been built many times. And so that was that, my decision had been made and I was going to go for it. The plans were purchased from Cornwall Model Boats and after a few days studying the plans and build article the build was to begin. All this was a few years ago now and as life does it took a few twists so from time to time the build got put on hold, but I’m almost approaching a stage now where she is close to getting ready for her first bath test (hopefully later this year with some more progress) and I thought now would be about the right time to document and share the process (including some of the mistakes) of the journey.
I hope the story so far and everything that follows is of an interesting read, and please do go easy on some of my embarrassing mistakes as I go through the build process as this was my first solo scratch build. Overall though I’ve enjoyed the whole thing and even though this model is not yet fully finished I do have another set of plans sat waiting for me to begin the next one…… my fiancée will be overjoyed when I tell her I need to put up another shelf for another boat!😂 |
| Colin Bishop | 04/02/2023 18:27:27 |
5438 forum posts 6188 photos 435 articles | Thanks for the interesting post Craig. The 'commuter boats' were unusual craft and certainly make good models. Enjoy the build. Colin |
| Craig88 | 04/02/2023 19:32:18 |
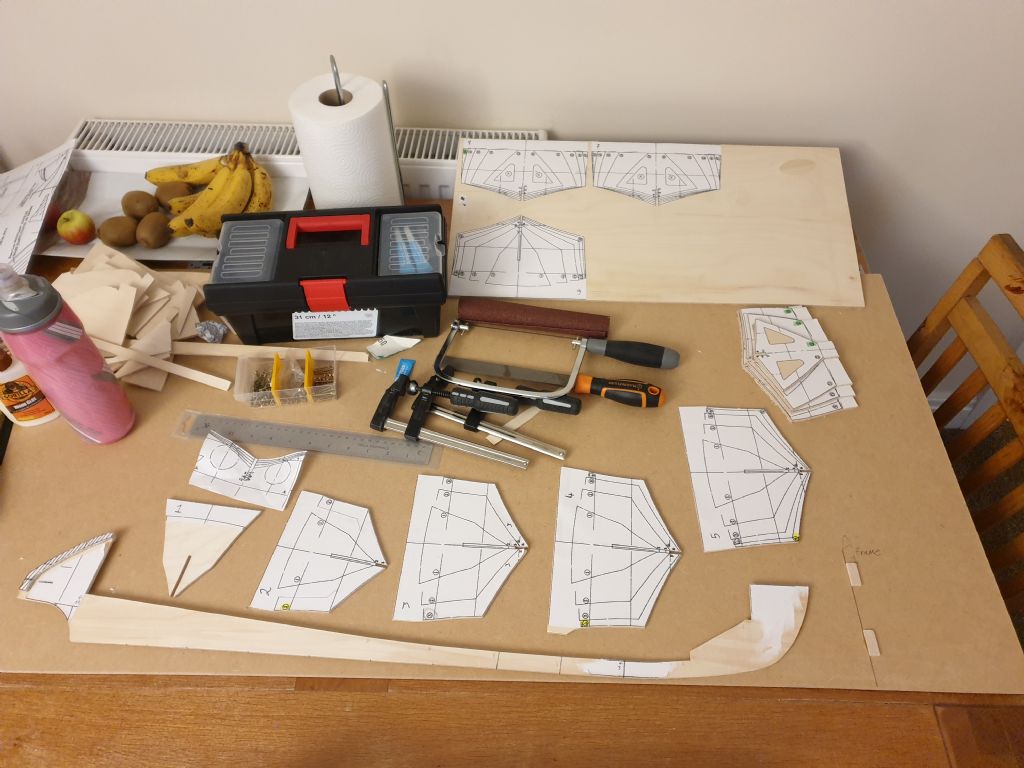
| 15 forum posts 39 photos | After plenty of studying the plans I put the main plan sheet into the scanner/printer and photocopied each of the frames and keel onto paper that I could then cut out. I was then able to temporarily glue the templates to the ply, using a cheap and simple glue stick, then trace the templates onto the plywood board. I chose to use 4mm as it was readily available from my local hardware shop, cheap enough that if I made any mistakes I could simply and cost effectively put it in a scrap box, but also strong enough to form the skeletal structure and keep it rigid. Thankfully the plans were pretty well designed and frame templates were already numbered so very simple to distinguish which order they sit in, something that I had realised as being critical to giving the hull its distinctive shape. All of the cutting out and shaping was done by hand using a coping saw and various grades of sandpaper to neaten edges up. |
| Richard Simpson | 04/02/2023 22:57:39 |
1367 forum posts 350 photos | Hi Craig and welcome to the forum. This is just the sort of thread we all enjoy following, all the more interesting when it is someone relatively new to the hobby. There is plenty of help available here and a huge depth of experience, especially from the, er, older generation! This is a commuter launch built from a magazine plan by an extremely competent modeller from my own club who sadly passed away a few years ago. It makes for a lovely model though. |
| Craig88 | 05/02/2023 09:32:59 |
| 15 forum posts 39 photos | Thank you Colin and Richard for your replies so far, I’m glad to hear you find the story interesting. Edited By Craig88 on 05/02/2023 09:38:42 Edited By Craig88 on 05/02/2023 09:40:37 |
| Craig88 | 05/02/2023 09:59:12 |
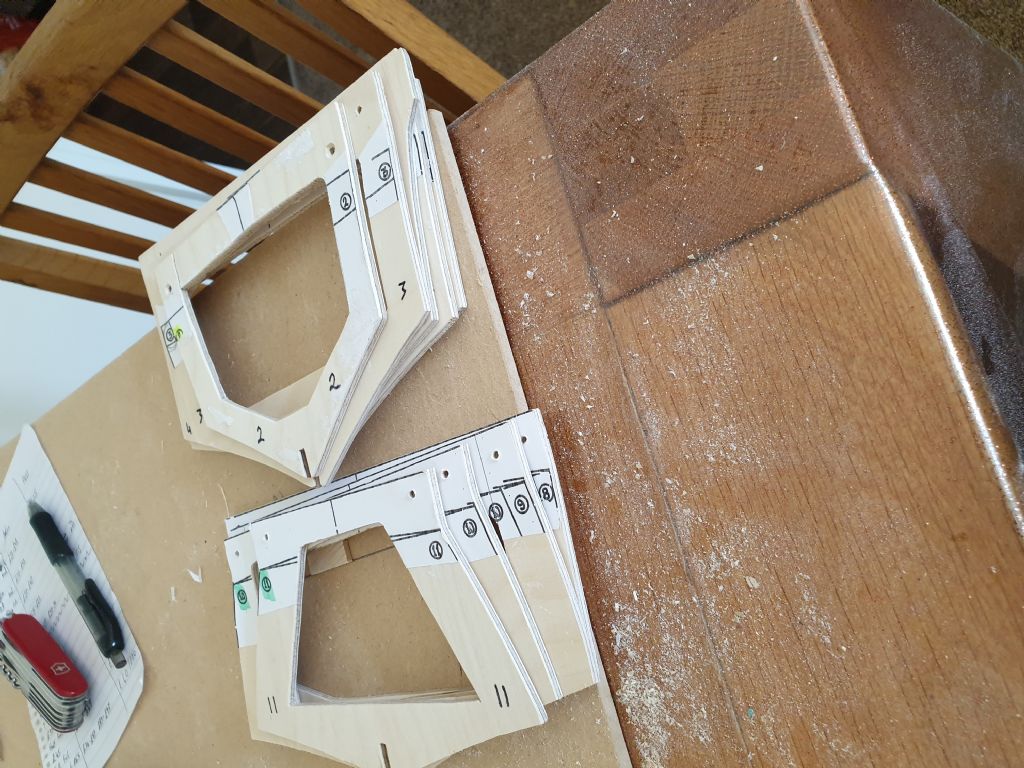
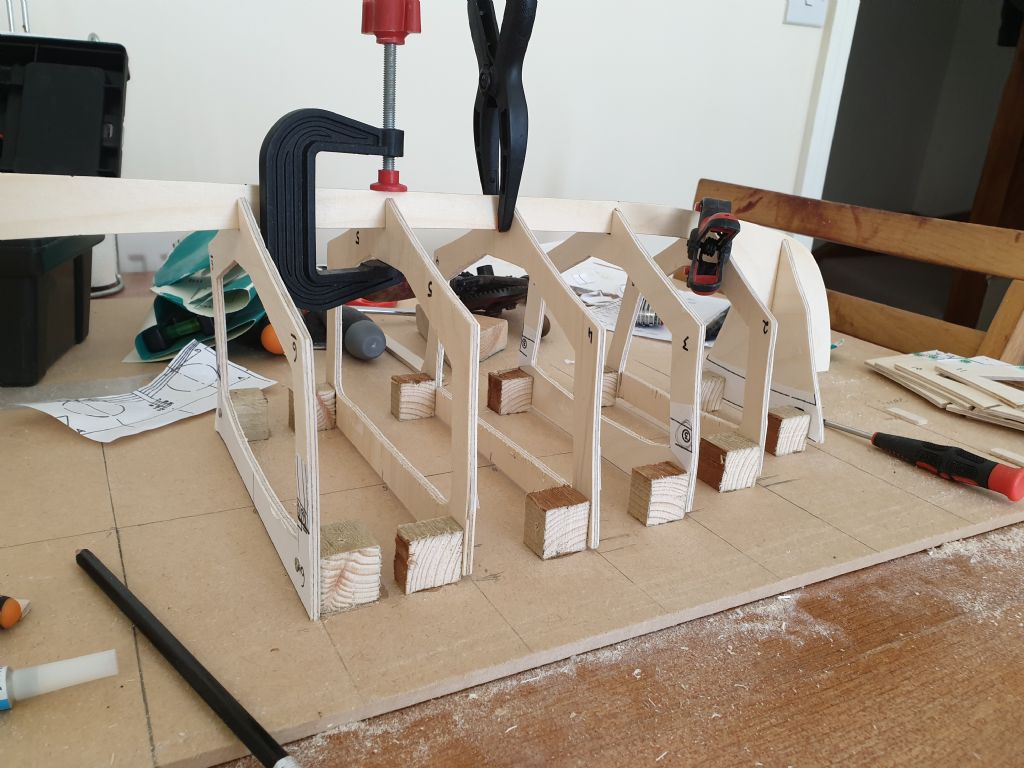
| 15 forum posts 39 photos | The next stage of the build was a fairly short one, it involved cutting and removing the inner surplus wood from the ply frames. Again this was done carefully using a coping saw sandpaper and a needle file set to get into some of the tighter and more intricate corners and edges. As my gramp always did, all surplus pieces of wood were put into a storage box rather than thrown away, something which later on down the line tuned out to be a wise decision and incredibly useful. I had previously read about it being a good idea to use a built board to temporarily fix the frames to so as to keep everything square and true so the tops of the frames were cut off over height and drilled leaving me with an area to fix blocks to that would then transfer the fixing straight down securely onto the build board. The line above the number of the frames in the picture depicts where the top of the frame finishes and would connect to the lower side of the deck. Later on in the build and due to the way I decided I wanted my internal layout to work some of these frames had to be reshaped cut back or re-profiled to accommodate where I was going to position various elements of the control hardware. As much forward thinking/planning as possible is always a good idea. |
| Richard Simpson | 05/02/2023 11:45:50 |
1367 forum posts 350 photos | A lot of work there doing it all manually. Neat job though. |
| Craig88 | 05/02/2023 11:56:24 |
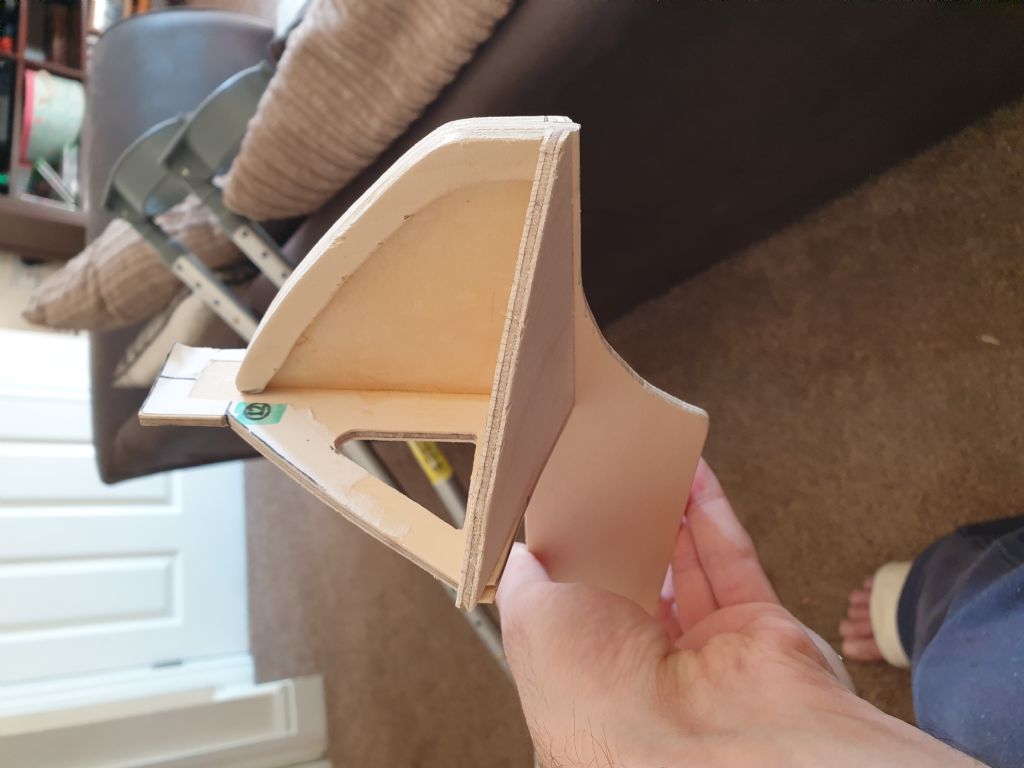
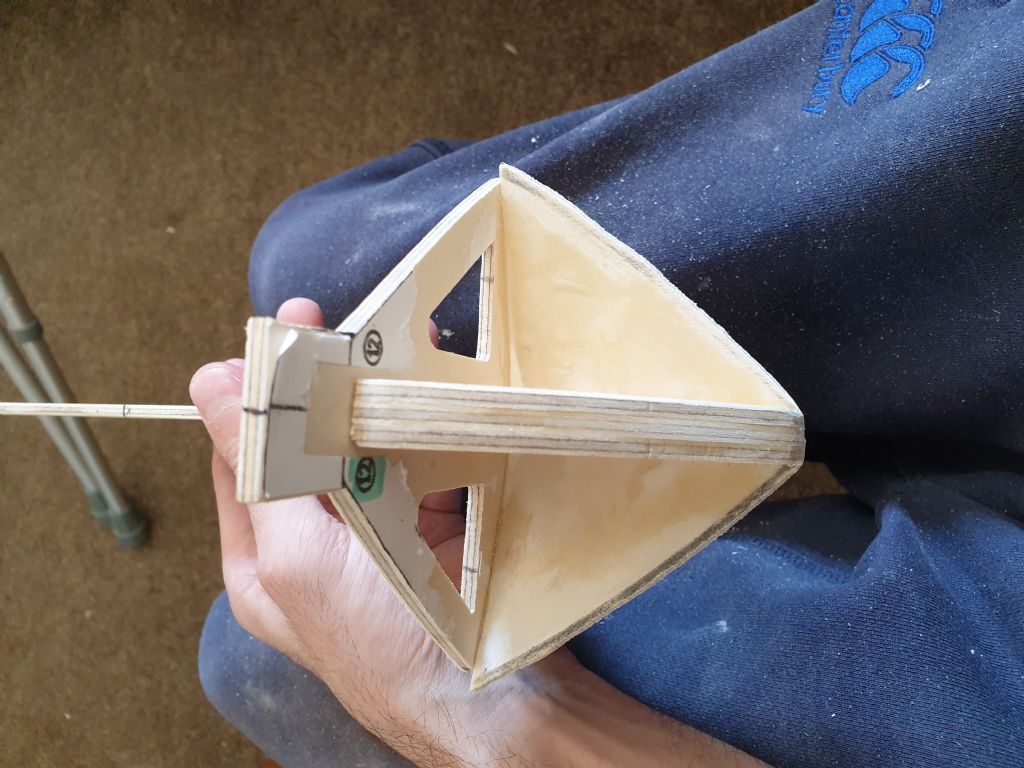
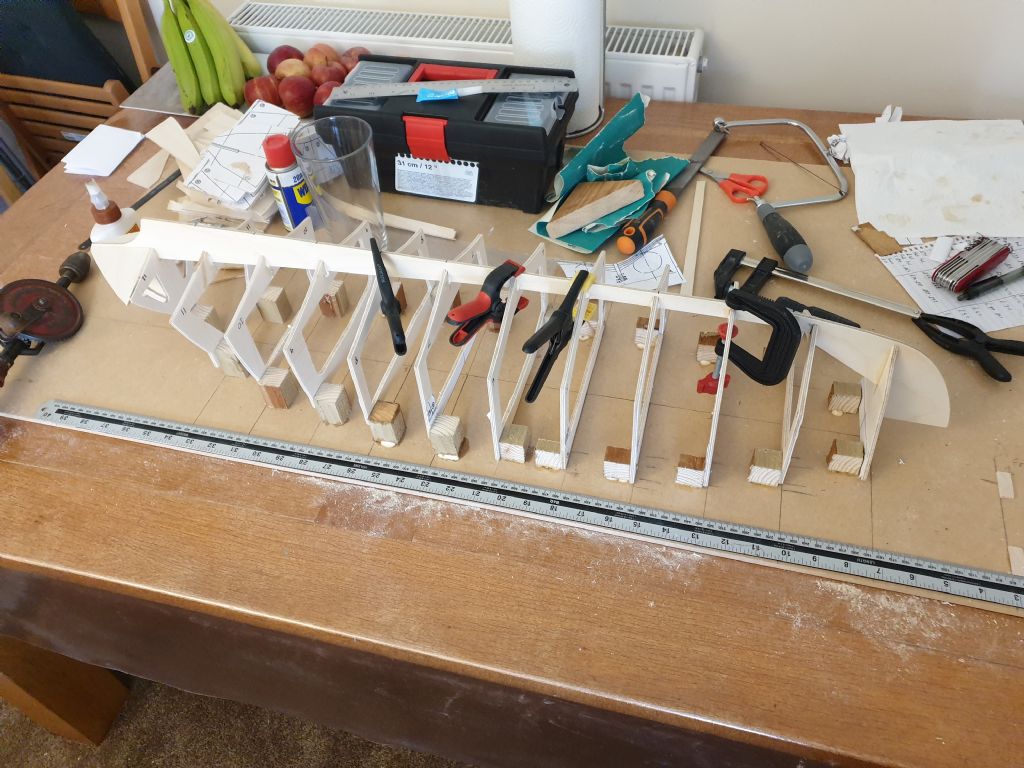
| 15 forum posts 39 photos | Once all the frames and keel had been cut out and prepared for assembly it was time to begin construction of the hull structure. I don’t actually know why I decided that I should build up the stern first, but it did turn out to be quite a good choice as I believe trying to construct the complex shape and profile of the rear of the hull would have likely been made very difficult with it all mounted upside down on a build board. Them main keel section formed a basic spine for the stern, but at only 4mm wide it would not give a very good surface area to glue planks onto. Two similar profile sections were cut and shaped from scrap 4mm ply and then glued on one each side of the keel to create a width total of 12mm, this was then chamfered off each side so that the centre of the main keel formed a V shape which the added sections then flowed off following the lines of the hull shape and in turn creating a much greater surface area for gluing the planks to. The stern of the hull is probably one of the more complicated parts of the build, both in terms of the structure as well as planking due to it having numerous concave and convex curves. A lot of trial and error went into this part of the build but I believe that overall it went fairly well. Following on from this it was time to get the frames and keel set up on the build board, in hindsight I probably could have taken more time in this and double checked and triple checked alignments and positioning, but I don’t think I did too bad a job using basic hand tools given my eagerness to get stuck into the build. Up to this point all gluing had been done using Gorilla Glue wood glue which I found a pretty good and fairly inexpensive method that could be bought locally. I later made the switch to Mantua Models aliphatic wood glue which I can say I have thoroughly enjoyed using us it’s got very good initial grip and cures pretty quickly with the only downside I have found is it being less readily available. |
| Craig88 | 05/02/2023 12:26:37 |
| 15 forum posts 39 photos | Posted by Richard Simpson on 05/02/2023 11:45:50:
A lot of work there doing it all manually. Neat job though.
Without giving too much away and getting ahead of myself there were a couple of areas of the design/build that I thought (without being too critical of the original plans) “I’d do this or that slightly differently” and made my own tweaks and changes, often giving myself more work to do….. along with a headache, or needing to undo something to make it how I wanted it. I know it is kind of a golden rule that was broken at times but I like things to have personal touches and so far I’m pleased with how they have turned out. |
| Craig88 | 04/03/2023 16:00:25 |
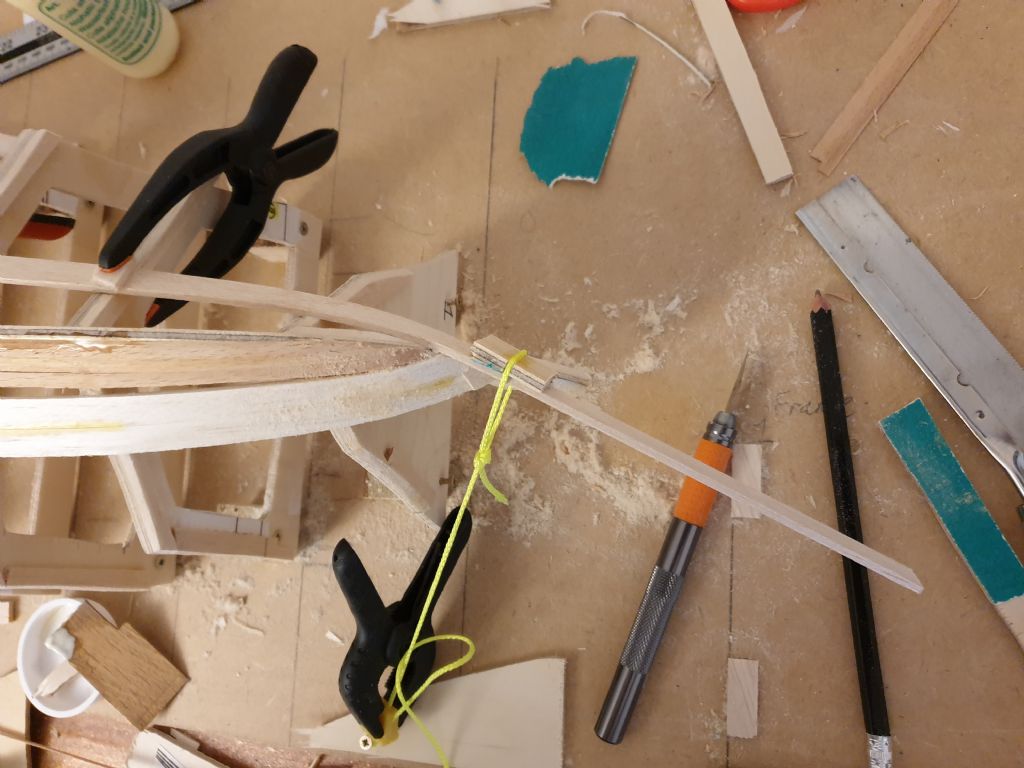
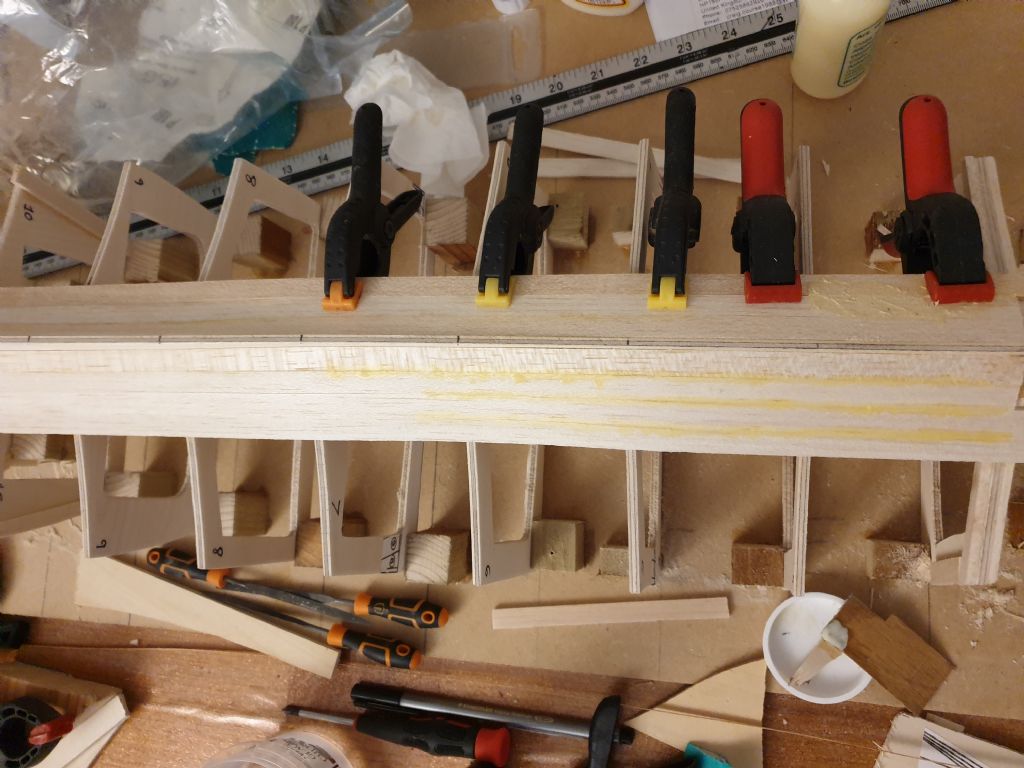
| 15 forum posts 39 photos | Once the frames and keel had been aligned and everything glued in place mounted to the build board it was time to begin the planking of the hull. The build description stated that balsa was originally used for planking, in some ways I can definitely understand why, and then in others if I had to do it again I would perhaps choose a different material. One of the big plus points and also one of the major downsides to the use of balsa wood is it’s very soft wood. On the plus side this meant shaping and carving the complex curves was made somewhat easier, but on the other hand the very nature of the wood being soft meant that I personally did not feel overly confident with the overall strength of the hull skin. As you will see in the next section of my build blog I made the choice (incorrectly or correctly at this stage remains unknown… ) to add some reinforcement to the skin. This later turned out to be one of my novice builder mistakes, not so much the choice to add reinforcement but the way I decided to do it, but we will get to that bit later. The planks themselves were cut oversize and then using the excess as a leverage point pulling carefully around the shape of the frames and then left alone clamped in place until the glue had thoroughly set. During this process a thin bead of glue was also applied to the full length of each plank along its connecting edge so that it not only glued to the frames but also the full length of the adjoining plank, very time consuming but I believe it was the right thing to do. I am open to hear any input from you experienced builders that have used used similar methods and materials and what your experiences were? Edited By Craig88 on 04/03/2023 16:01:22 |
Please login to post a reply.
Want the latest issue of Model Boats? Use our magazine locator link to find your nearest stockist!
 Make sure you never miss out on the latest news, product reviews and competitions with our free RSS feed

We welcome well written contributions from Website members on almost any aspect of Model Boating with a particular emphasis on practical hints, tips, experience and builds.
In order to maintain a consistent standard and format, all suggestions should first be sent to me by Personal Message for approval in principle. Only a very limited amount of time is available for editing contributions into a suitable format for placing on the website so it is important that the material is well presented, lucid and free from obvious spelling errors. I think it goes without saying that contributions should be illustrated by appropriate photos. I shall be happy to give advice on this.
The Member Contribution area offers space for short informative mini articles which would not normally find a place in Model Boats magazine. It is an opportunity for Website Members to freely share their expertise and experience but I am afraid that virtue is its own reward as there is no budget to offer more material recompense!
I look forward to receiving your suggestions.
Colin Bishop - Website Editor
Model Boats Magazine
- Landing Craft Mini PLan
- Riva Aquarama Build
- Scale Colour, Sound & Speed
Digital Editions
- Access your digital editions
Subscribe Now
- Every issue delivered right to your door
Renew Now
- Save & never miss an issue!






 Register
 Log-in


