SIG Sealane
A boat with wings
| Tim Rowe | 21/05/2020 22:27:03 |
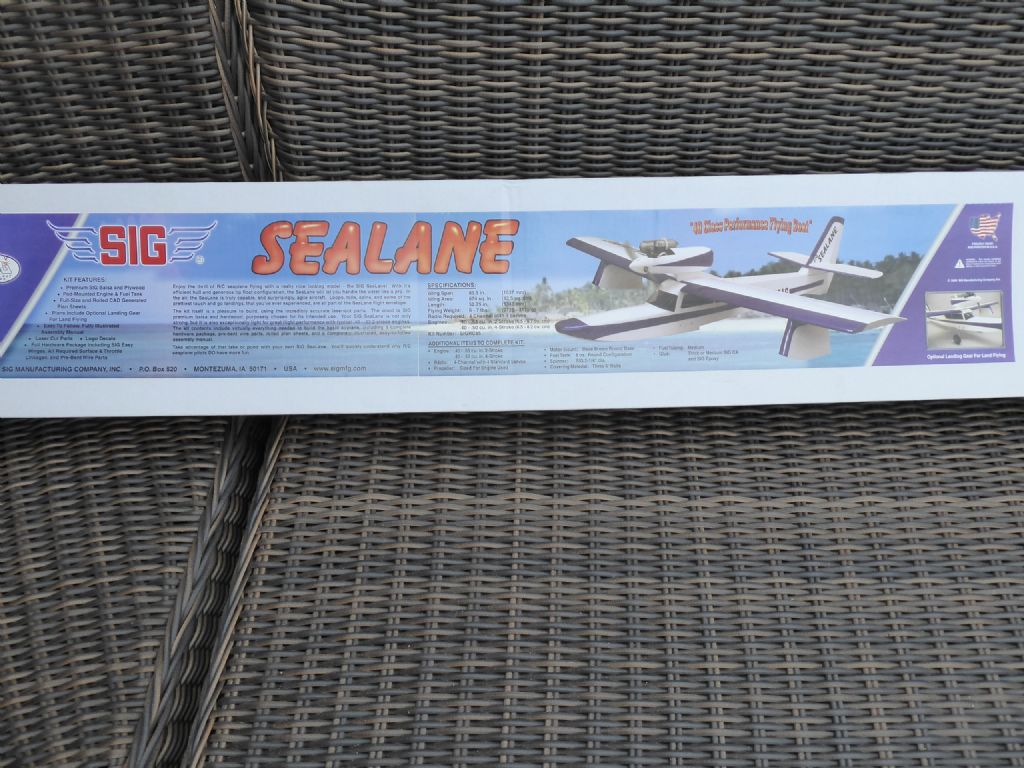
580 forum posts 577 photos | Here ismy other project while waiting for paint to dry on others. I suppose it is a boat until the moment it flies at which point it becomes a flying boat. My definition is that is has a hull rather than being an aeroplane with floats in which case it would be a sea plane. As it won't be flying until after the blog I hope it will be accepted in good faith on this forum as supposed to t'other one. The kit is all laser cut including some 1/4 " ply and impressively accurate. The "boat" will be much as supplied in the kit but weight saving wherever \I can. The only major mod I have planned is to fit flaps as well as the ailerons. Above all I am looking forward to doing some fast taxying on the step but not quite airborne. The kit is set up for a 40 sized glow motor (Irvine 40) so that is exactly what it is going to get. Tim R |
| Ray Wood 2 | 22/05/2020 07:16:43 |
3205 forum posts 1142 photos | Hi Tim, Have you started the build yet, I think the fuselage/hull construction will be relevant to the builders on this forum regarding building light !!I 150 engines !! Makes me feel better, I've only got 38 😎✈👍 Do they still have the water bombers at Pollensa ? We have watched them practicing off Nerja on the mainland, which is where we should have been next week 😢 Regards Ray |
| ashley needham | 22/05/2020 07:19:23 |
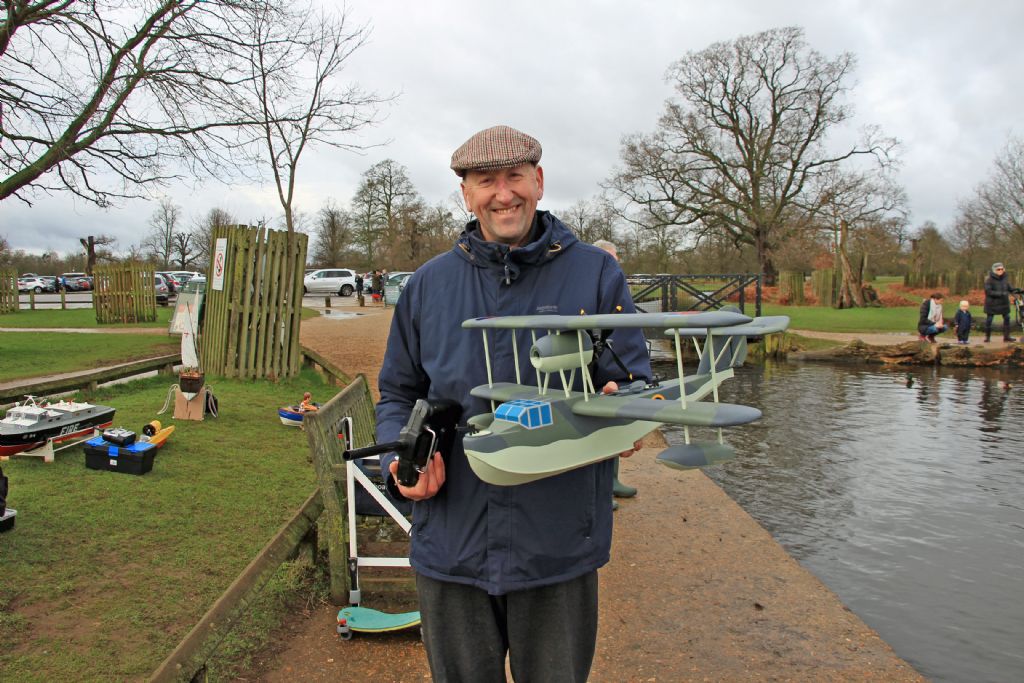
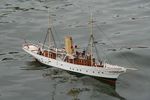
8098 forum posts 194 photos | TimR. Sounds good to me (as the owner of er, several non-flying boats). The point to bear in mind are the new regs requiring registration and so of flying models. Not a problem if you DO flying and have other aircraft, but, if like me who doesn’t do flying one has to be a bit careful. One of the reasons the Walrus has no elevators/flaps enabling it to fly properly, although it will get airborne quite easily. Ashley picture taken before current crisis! |
| Ray Wood 2 | 22/05/2020 07:34:32 |
3205 forum posts 1142 photos | Hi Ashley, You would need to be wary of doing a Howard Hughes with the spruce goose which was only a fast taxi !!! Not sure Mallorca is covered by CAA rules regarding flying models ?? I flew my aeroplane the other morning to get my £9's worth 😃 Regards Ray |
| ashley needham | 22/05/2020 07:36:52 |
8098 forum posts 194 photos | Ah yes, I should try and remember where everyone is based! Its not that onerous I suppose, or expensive to get the correct documentation and so on over here. Ashley |
| Chris Fellows | 22/05/2020 15:43:38 |
1457 forum posts 877 photos | Hi Tim Goody, another build to follow and something different! Chris |
| Tim Rowe | 22/05/2020 21:16:14 |
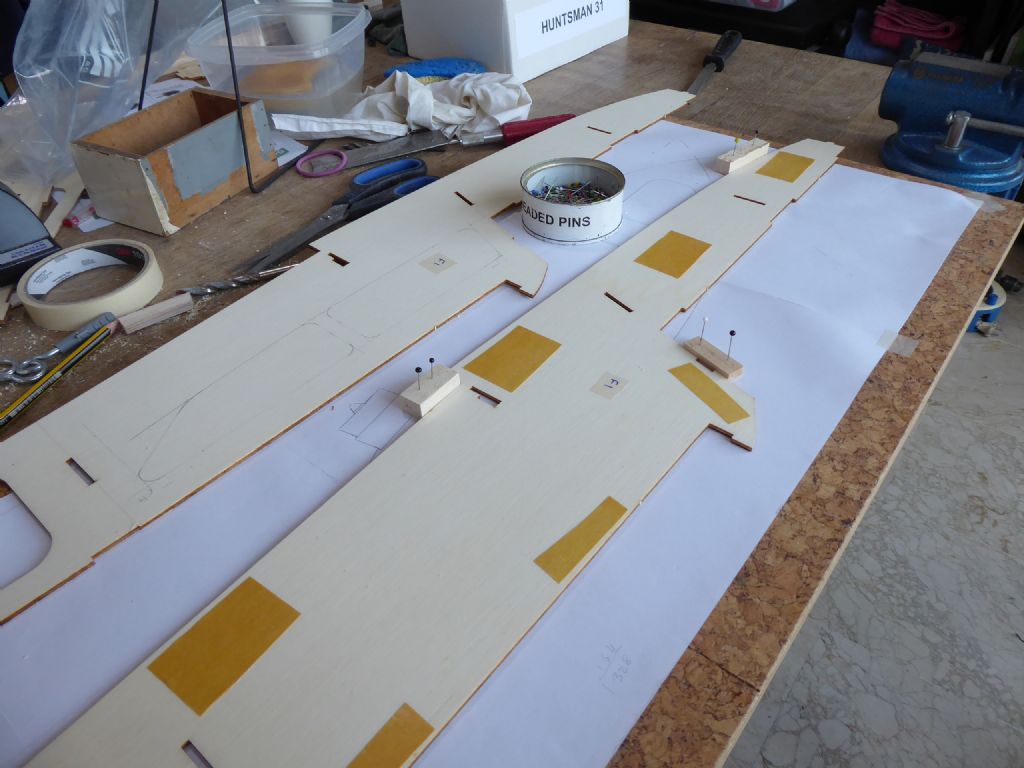
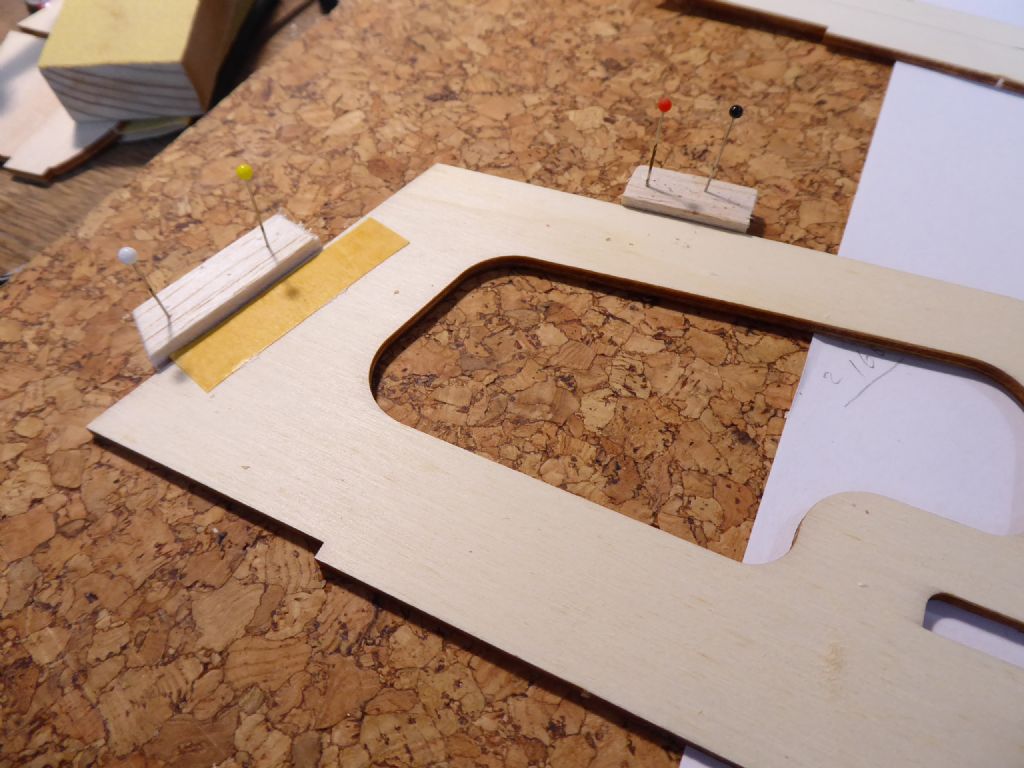
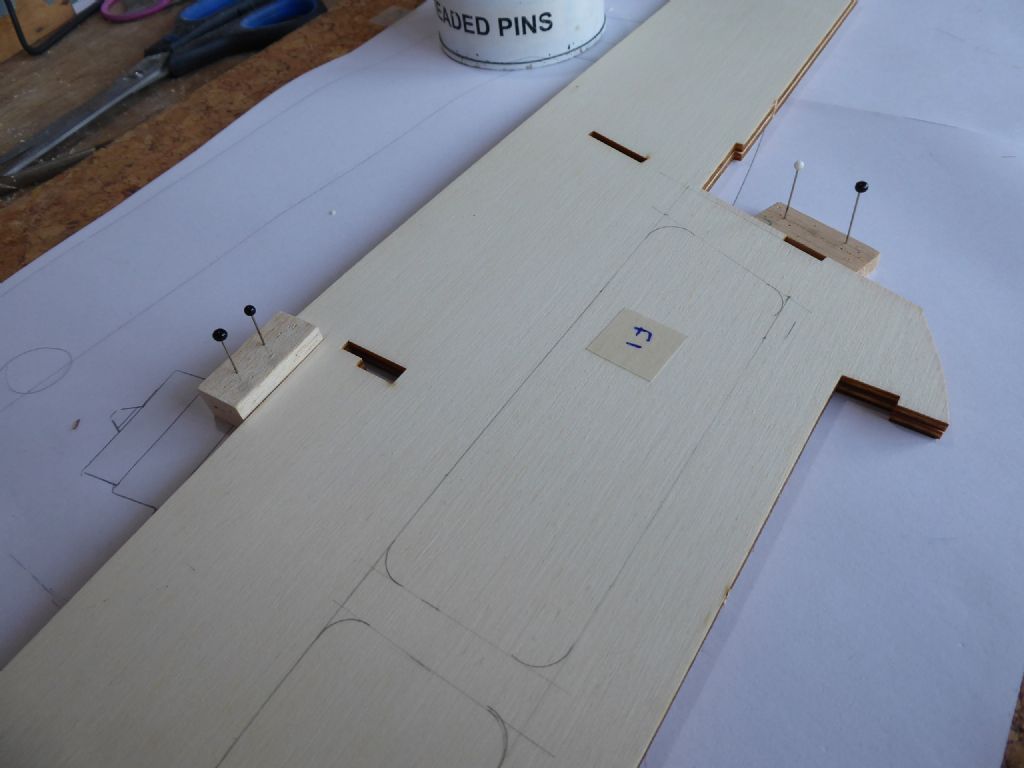
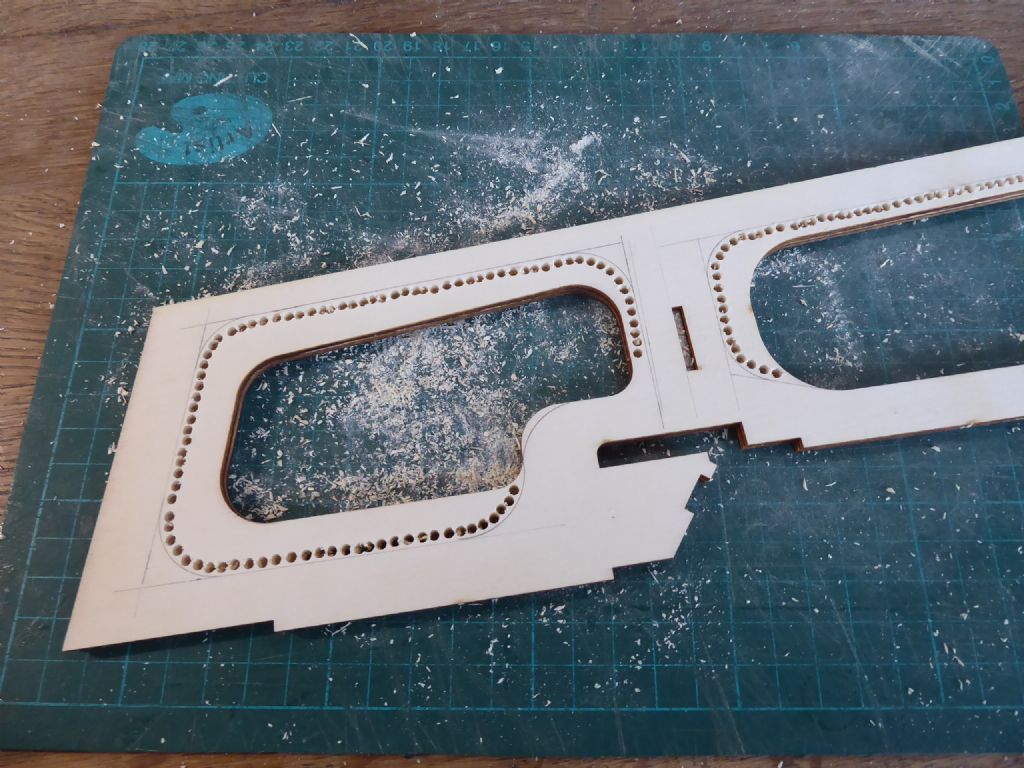
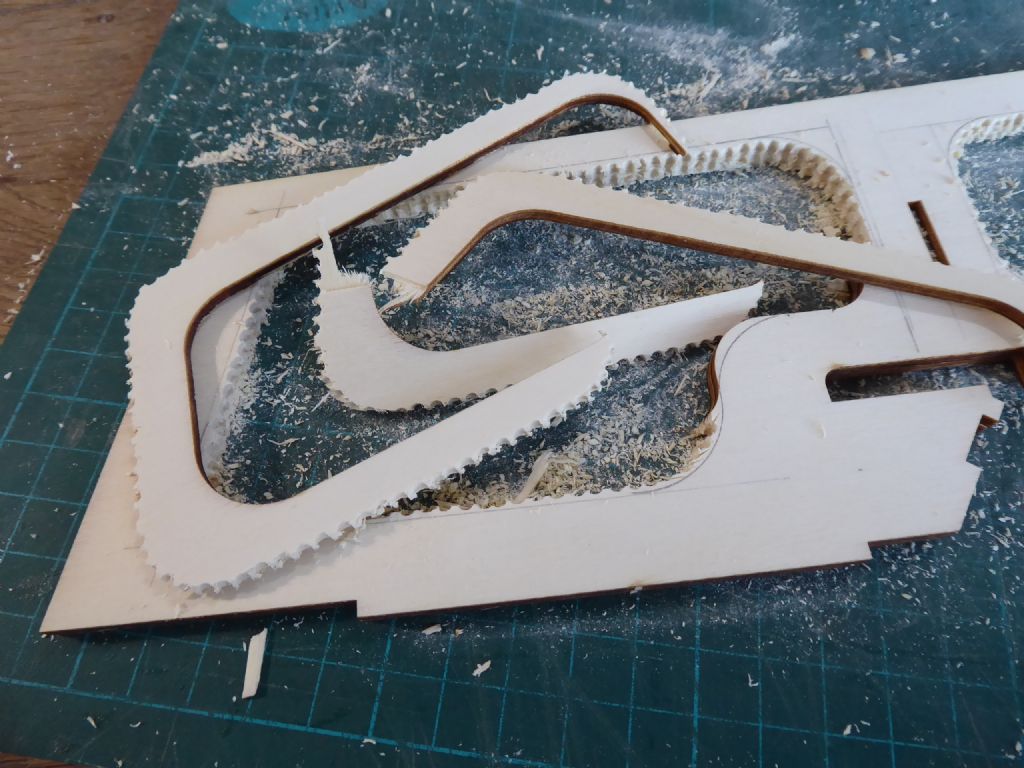
580 forum posts 577 photos | Yes Ray, we still have a water bomber station at Pollensa and I have a short kit for the Bombardier CL 415 which will be fun to build some time. We also use helicopters for precision water bombing and if you have a swimming pool they are allowed by law to take a dunk. Building as light as possible is one of my aims on this kit and there is always considerable scope. Often individual parts are made strong because they are too floppy on their own. When in combination with other structures they can often be slimmed down. It say on the box weight 6 - 7 ibs which is quite a tolerance. I am aiming for well under six even though I am adding some features. I am using a new Irvine 40 which is at the bottom end of the scale but I do have a 46 which has exactly the same external dimensions and would be a straight swap if I do find myself underpowered. The kit describes the main construction as Lite ply. Well it is certainly not the stuff I normally use and light, well that stretching it a bit. The whole fuselage / hull frame is made with this stuff so a good place to start shedding the ounces. Here is one side and because there are mainly two of everything it is good to do what is possible in pairs. The brown patches are thin double sided tape so the two side can be temporarily held together while doing any work. This guarantees symmetry. So here is the aft end and as I don't have a fret saw, chain drilling is almost as quick and the edges then get tidied up with a Dremel. Only ounces and fractions of ounces but it all adds up. It is also important to build the aft end light. The eventual position of the cg is critical and if the aft end is heavy a lot of weight has to be added to the bow to get the balance. That of course upsets the goal of building as light as possible. |
| Eddie Lancaster | 22/05/2020 21:25:27 |
| 849 forum posts 644 photos | Hi. Tim, your usual attention to detail. I will enjoy this build. Eddie. |
| Chris Fellows | 22/05/2020 23:35:55 |
1457 forum posts 877 photos | Seconded. Chris |
| Tim Rowe | 23/05/2020 21:18:48 |
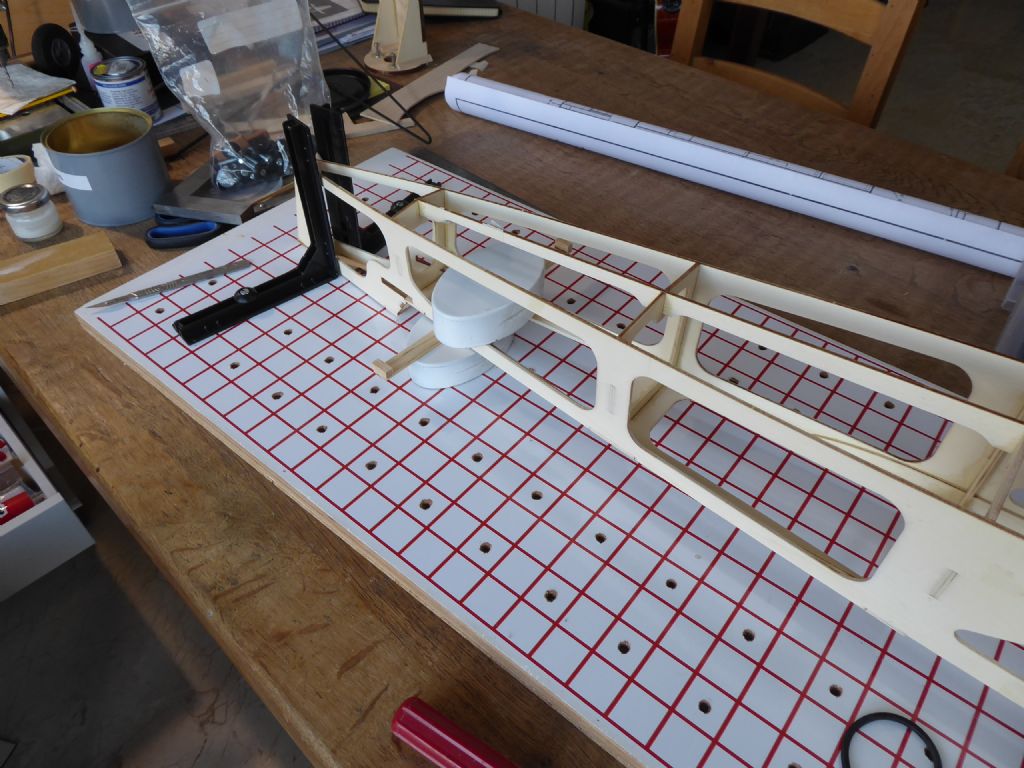
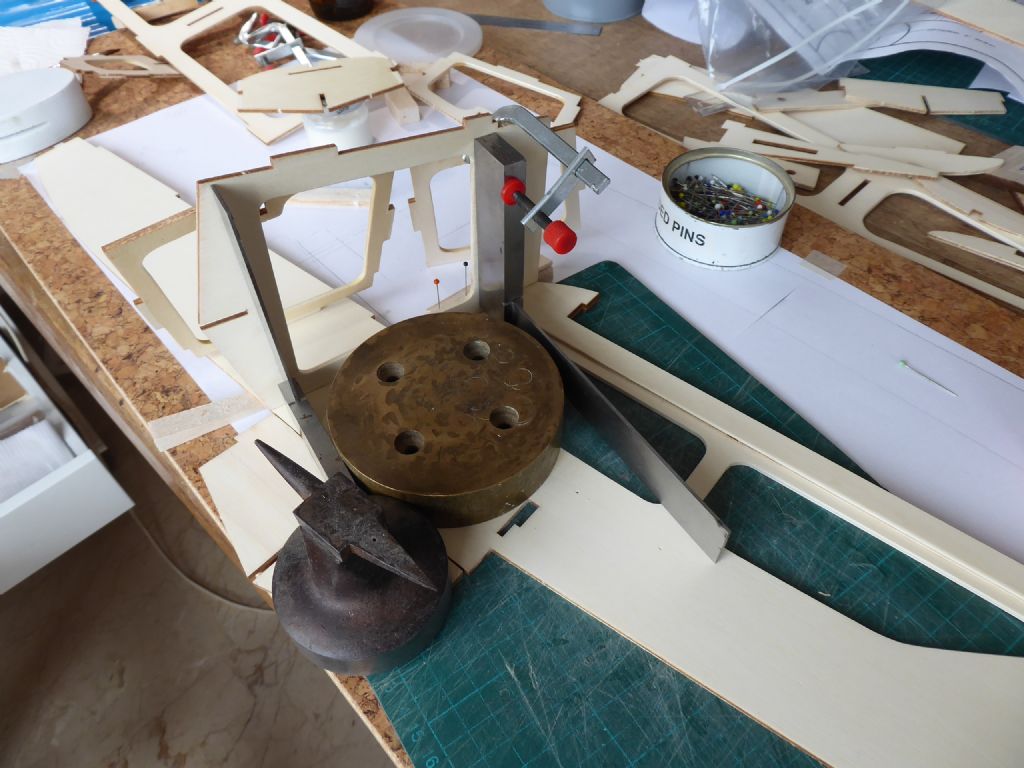
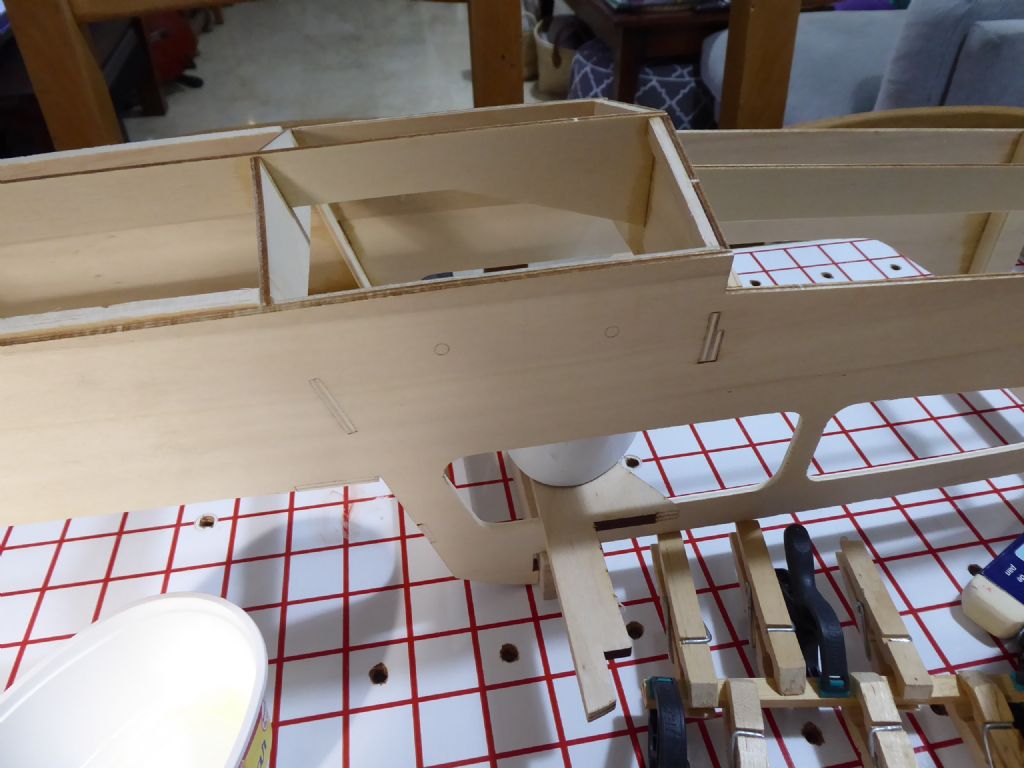
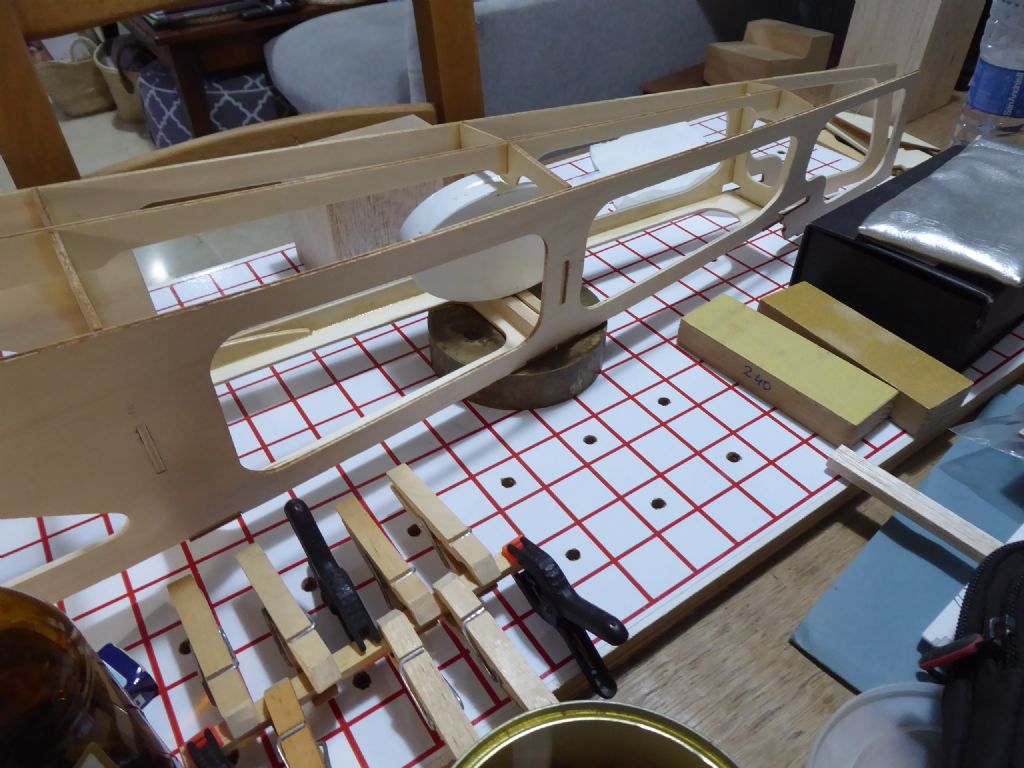
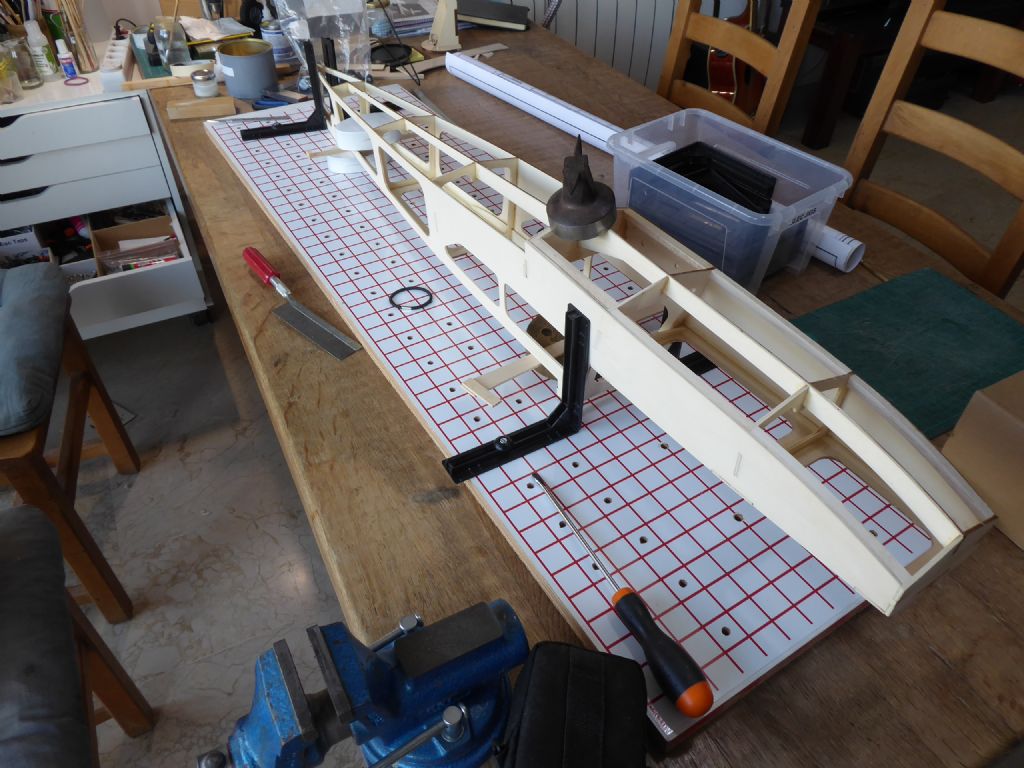
580 forum posts 577 photos | The laser cut fuselage parts assemble with tabs and slots which is helpful as they were quite accurate. It goes with saying that both pieces of ply for the main body were curved the same way so I could not "hand" them to cancel out the bend. Even with the tabs it would be very easy to build in a bend and a twist. Nobody would want that in a boat - unless of course they were building a Gondola - but in something that hopefully is going to fly, it is very bad news as it affects the incidences and could induce some very unpleasant characteristics. Actually the instructions are quite and stress the importance of accurate alignment. Here is the first former going in. The big round weight is holding the fuselage locally flat and two engineer's squares are holding the former vertical. I needed two because guess what - the former was twisted. The miniature anvil is simply pushing against one square to keep it in place. Incidentally I am using aliphatic glue which I decant into one of those individual portion jam pots and brush it on the joint using a small brush that lives in a jar of water which gets changed every week or so. The aliphatic I use is not water proof and is at best water resistant when fully cured. I like it though because it grabs very quickly and it is light. Most of the weight is water and evaporates away. It is unlikely that this model will spend huge amounts of time on the water but nonetheless I am brushing the glue on both side of all joints as this will provide some semblance of sealing as I go along. I don't bother doing this on normal aircraft. We are now on the SLEC fuselage jig. It's one of those things that make you wonder how you managed before getting it. You have to buy a board to put the vinyl sticker on and I bought maybe three times as many blind nuts and screws as supplied to increase the number of jig position options. Since I bought it I don't think there is a single model that hasn't been on it. In this photo you can see the step and the bow is off to the left. This forward section is the one that will get most of the pounding taking off and landing. I wasn't keen on gluing the bottom sheeting to the edge of the ply alone. It would be a bit like building a chine but omitting the chine stringer. On the fore side of the step I have glued a balsa doubler and later I did the same all around the front end. I now have a decent gluing area with a ting fraction of weigh gain. Here is the aft end showing the keel in place. On the water at rest all this has to do is keep the thing afloat and hold the tail in the right place. Very quickly the hull will be riding on the step and this bit will just be receiving spray. I have glued the bottom skins to the ply edges with the doubler following the instructions this time and to keep to the them of keeping the aft end as light as possible. Near the bow you can see the doublers down each side. I did not try to bend these from stock but cut the curve out of sheet. Medium soft balsa, light and very easy to sand. Tim R
|
Please login to post a reply.
Want the latest issue of Model Boats? Use our magazine locator link to find your nearest stockist!
 Make sure you never miss out on the latest news, product reviews and competitions with our free RSS feed

We welcome well written contributions from Website members on almost any aspect of Model Boating with a particular emphasis on practical hints, tips, experience and builds.
In order to maintain a consistent standard and format, all suggestions should first be sent to me by Personal Message for approval in principle. Only a very limited amount of time is available for editing contributions into a suitable format for placing on the website so it is important that the material is well presented, lucid and free from obvious spelling errors. I think it goes without saying that contributions should be illustrated by appropriate photos. I shall be happy to give advice on this.
The Member Contribution area offers space for short informative mini articles which would not normally find a place in Model Boats magazine. It is an opportunity for Website Members to freely share their expertise and experience but I am afraid that virtue is its own reward as there is no budget to offer more material recompense!
I look forward to receiving your suggestions.
Colin Bishop - Website Editor
Model Boats Magazine
- Landing Craft Mini PLan
- Riva Aquarama Build
- Scale Colour, Sound & Speed
Digital Editions
- Access your digital editions
Subscribe Now
- Every issue delivered right to your door
Renew Now
- Save & never miss an issue!




 Register
 Log-in


