Guardsman build (but not as you know Jim)
So the story starts
| Fred Ellis 1 | 26/07/2021 10:10:55 |
32 forum posts 34 photos | Hi One & All This is not a step by step build, just me rambling along in my own little world. I had just finish the Dean's Wacht am Rhein, that had taken my about eighteen months to build, so a quick build was on the cards, now I have two boat's that need renovating along with about six hulls that need building, and in the six was the Guardsman. Now I got the Guardsman back in Feb of this year (2021) and it looked as if it would take about six months to build as I had the vacformed hull, so hull building. Fred
|
| Fred Ellis 1 | 27/07/2021 10:01:09 |
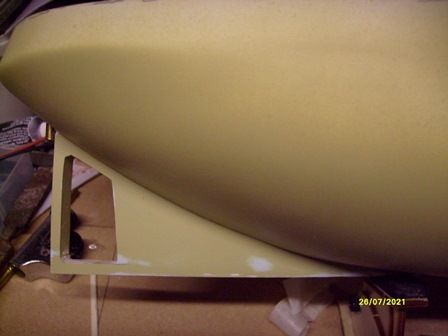
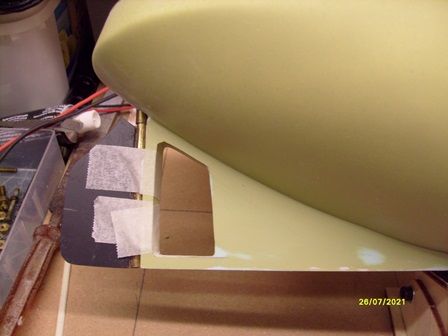
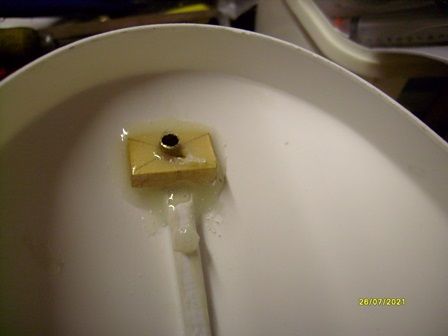
32 forum posts 34 photos | Hi One & All After a few days looking at the drawing, it was time to order the running gear, for this I used Model Boat Bits the order was for a 385 motor - 7" shaft - 35mm four blade brass prop and a medium brass rudder, and from the Component shop a six volt battery pack, all of these items got to me in about a week. One thing that I did was not to remove the excess plastic from the hull, my thinking behind this was that I would have a stable platform for when I was cutting out the shaft tunnel and the rudder post. When I was working there was a company next door to us that was a signee maker and when I was on late duty some times I would have a look in his scrap bin, the keel is made from some of this scrap. I used some nylon bolts to add some fixing points to the keel. I also removed part of the shaft tunnel just to make it easier later on, I also cut some dragon's teeth so that the glue would have a bit more area to fix too. |
| Fred Ellis 1 | 02/08/2021 09:50:40 |
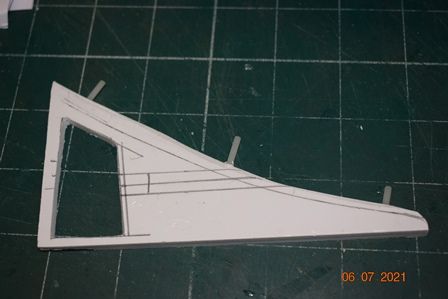
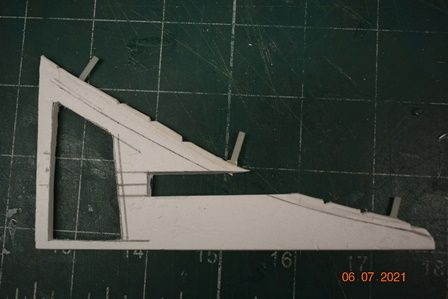
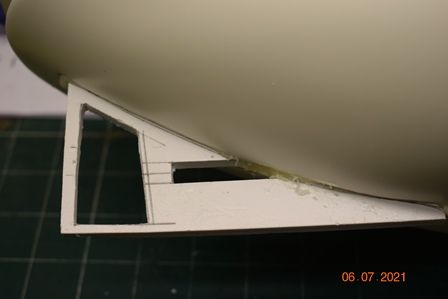
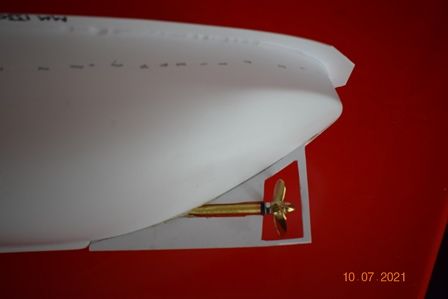
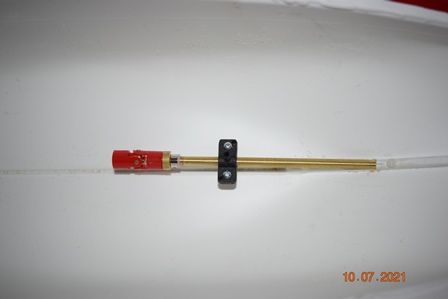
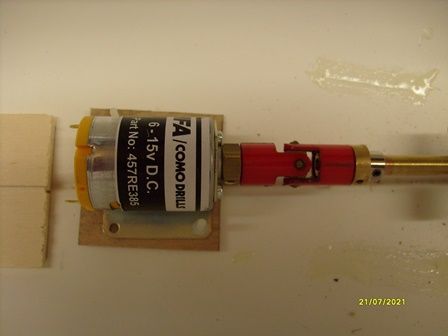
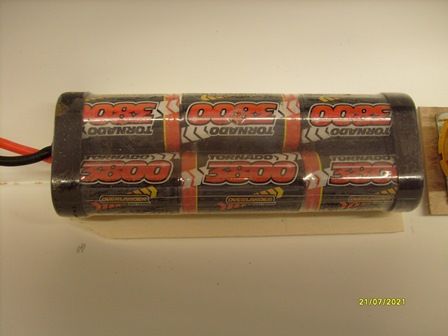
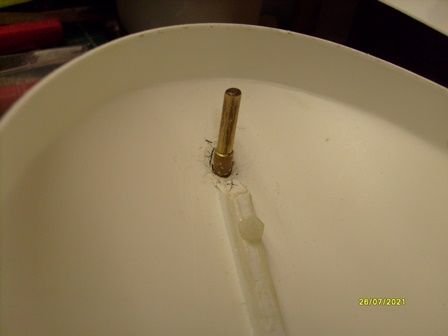
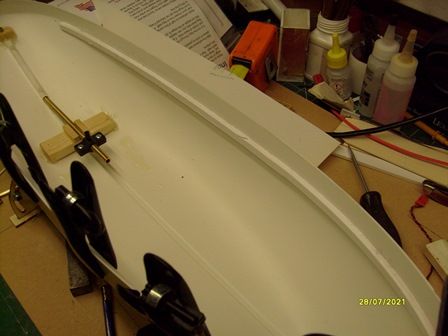
32 forum posts 34 photos | Hi One & All Well the keel is now all fixed in place Just need to cut out the rest of the shaft tunnel and flare in the keel to the hull, Having done that it was time I moved onto the rudder, you will have seen how I went about this in my other post in soapbox. I fixed the shaft in place to see just how much room I had when the prop is fitted. I was happy with how it worked out, so I fixed the shaft in place inside the hull. I also tried out the locations of the motor and battery That looks O.K. to me. It was time to put the shaft covers in place, along with the rudder That it for now, until the nest time Fred |
| Richard Simpson | 02/08/2021 12:19:48 |
1367 forum posts 350 photos | Very neat, nice job. |
| Fred Ellis 1 | 02/08/2021 13:47:38 |
32 forum posts 34 photos | Thank you Richard Fred |
| Fred Ellis 1 | 08/08/2021 00:13:26 |
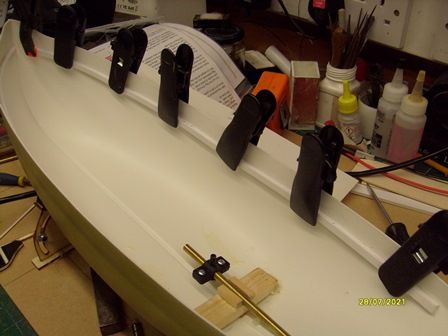
32 forum posts 34 photos | Hi One & All Just a quick update. I have removed the waste plastic from the hull, I then set out the location of the side deck beams, for this is used 3 x 6mm strip, this was held in place by the clips from old trousers hangers, I let the beams dry over night
Fred Edited By Fred Ellis 1 on 08/08/2021 00:15:20 |
| Fred Ellis 1 | 16/08/2021 17:52:29 |
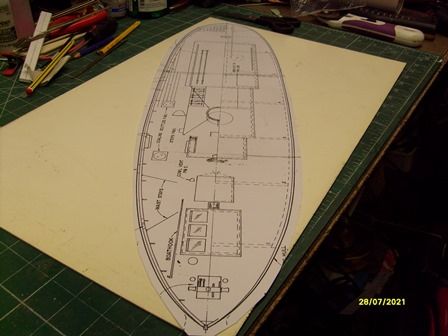
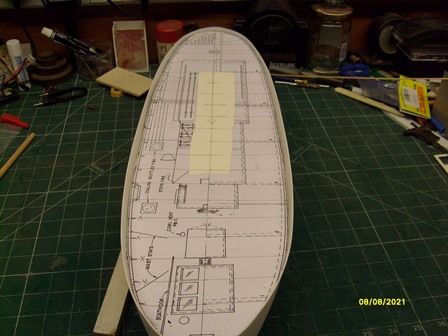
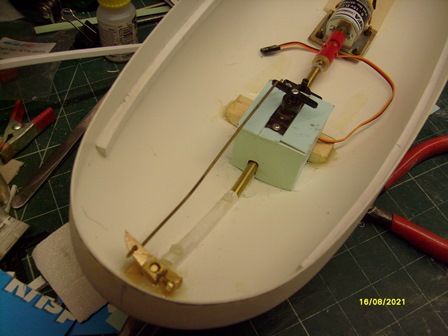
32 forum posts 34 photos | Hi One & All I am now back on the build. With the beams now dry I moved onto cutting out the deck After triming the deck to fit, I could then see if the rudder horn would fit under the deck. As the Guardsman was first released in 1982 and the servo's were on the large side the rudder horn was placed above the deck, but using today's equipment I could now fit it all under the deck. I must say that the rudder servo box is not my best. yes the rudder horn is a home made one from a 13 amp plug.
Fred
|
| Fred Ellis 1 | 18/08/2021 13:18:40 |
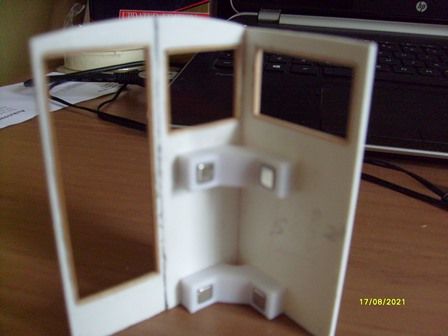
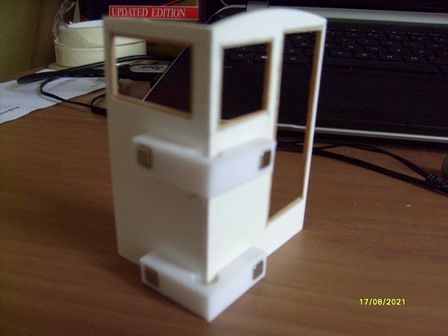
32 forum posts 34 photos | Hi One & All With regards to the deck, I cut the section that is over the rudder off, I will replace it with a grating later on in the build. Some time back I found some magnetic clamps that are on Smart Models. co. uk web site, as in the past I have used right angle aluminium, the one's in the photos are the small set.
|
| Fred Ellis 1 | 14/06/2022 08:42:30 |
32 forum posts 34 photos | Hi One & All Well its been a long since I posted anything with regards to this build. The fact is I made a real pig's ear of it, as they say "its back to square one" First I removed the deck, and I will start by make new deck beams & a new deck. See you some time in the future soon I will post the updates. Fred |
| Ray Wood 2 | 14/06/2022 08:53:09 |
3205 forum posts 1142 photos | Hi Fred, Welcome back , was getting the one piece deck to fit the issue ? I normally cut card templates and build the sub deck in sections round the hatch openings to make sure the deck fits as it should and plank it afterwards. Regards Ray |
Please login to post a reply.
Want the latest issue of Model Boats? Use our magazine locator link to find your nearest stockist!
 Make sure you never miss out on the latest news, product reviews and competitions with our free RSS feed

We welcome well written contributions from Website members on almost any aspect of Model Boating with a particular emphasis on practical hints, tips, experience and builds.
In order to maintain a consistent standard and format, all suggestions should first be sent to me by Personal Message for approval in principle. Only a very limited amount of time is available for editing contributions into a suitable format for placing on the website so it is important that the material is well presented, lucid and free from obvious spelling errors. I think it goes without saying that contributions should be illustrated by appropriate photos. I shall be happy to give advice on this.
The Member Contribution area offers space for short informative mini articles which would not normally find a place in Model Boats magazine. It is an opportunity for Website Members to freely share their expertise and experience but I am afraid that virtue is its own reward as there is no budget to offer more material recompense!
I look forward to receiving your suggestions.
Colin Bishop - Website Editor
Model Boats Magazine
- Landing Craft Mini PLan
- Riva Aquarama Build
- Scale Colour, Sound & Speed
Digital Editions
- Access your digital editions
Subscribe Now
- Every issue delivered right to your door
Renew Now
- Save & never miss an issue!






 Register
 Log-in


